FIGZ

Thursday, November 30, 2023

Breton


This month I didn't have much time to spare, 
so just picked a figure from the Asterix range


It is a figure from the Album "Asterix and the Britons"


The colours will not be correct as I had no example at the time,
so a colour combination I came up with myself.


Although it was a rush job, I am quite happy with the end result


In particular, the pattern on his trousers was a small challenge


Painted, these figures look much nicer anyway...

That's it for this month again, thanks for visiting! 
I'm off to paint another Roman soldier!


Monday, October 30, 2023

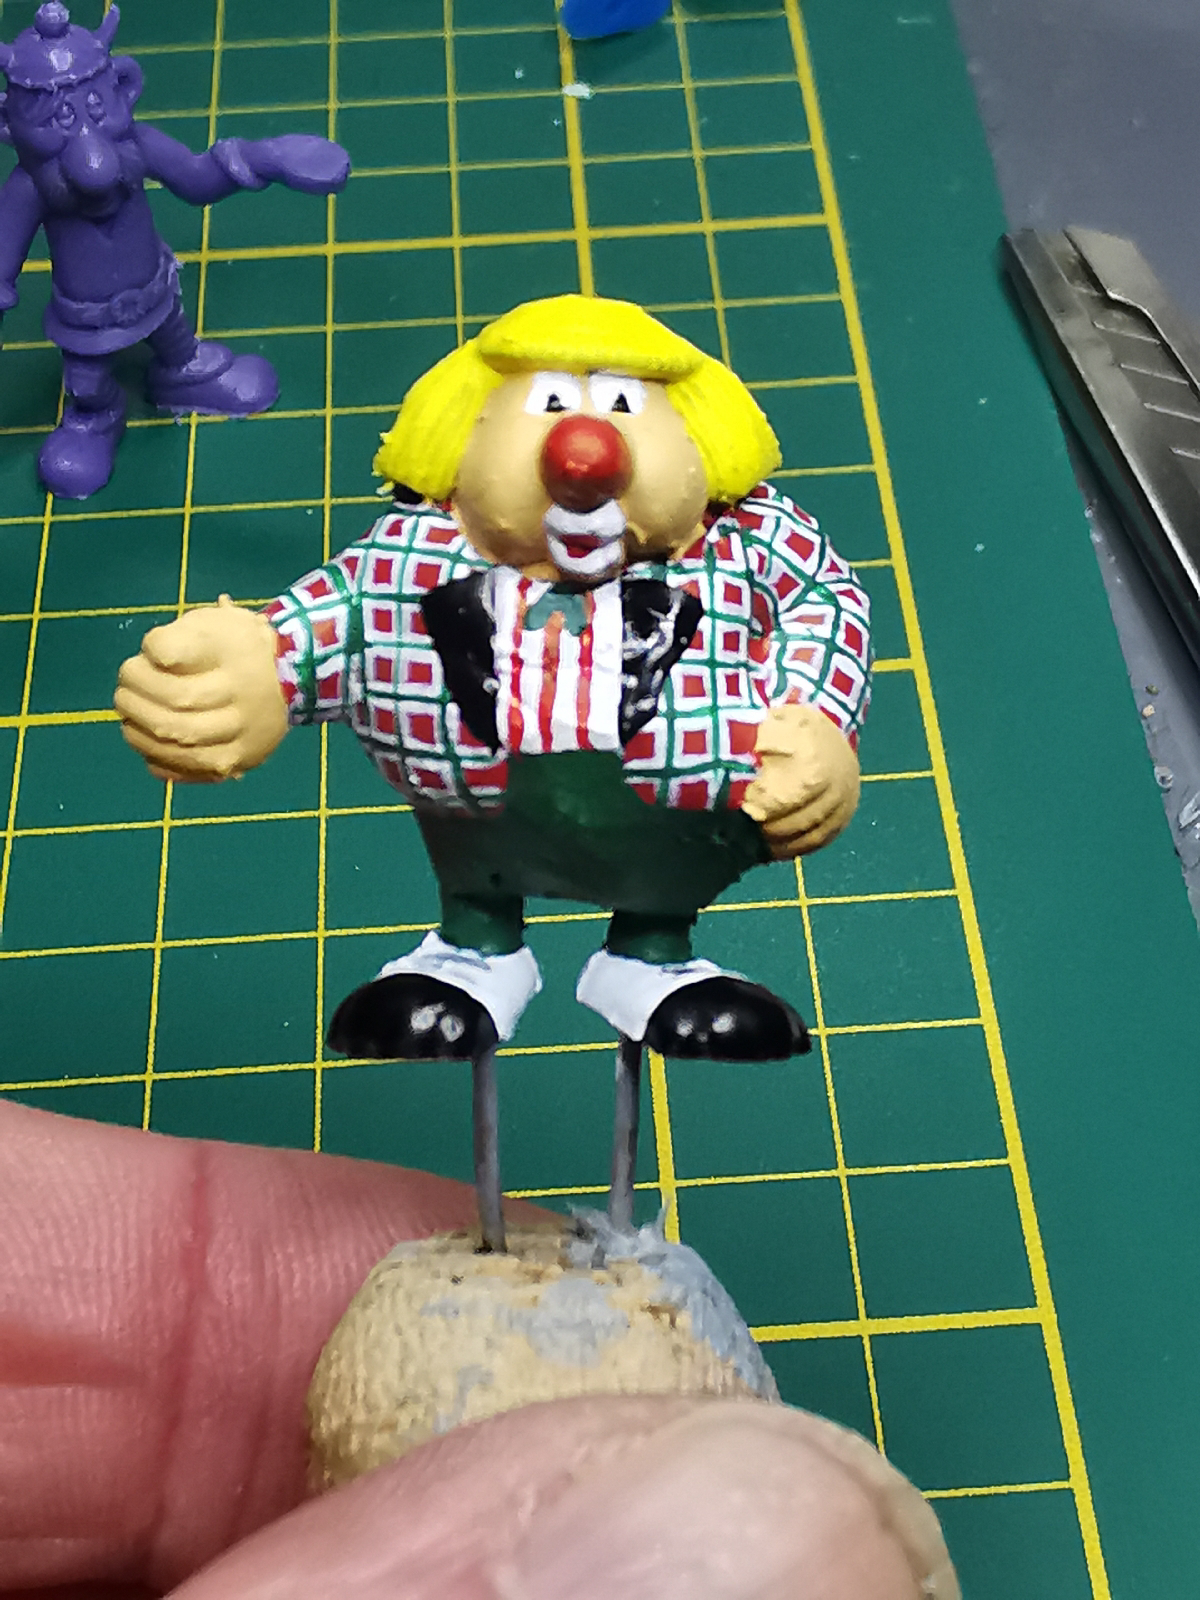
Bassie


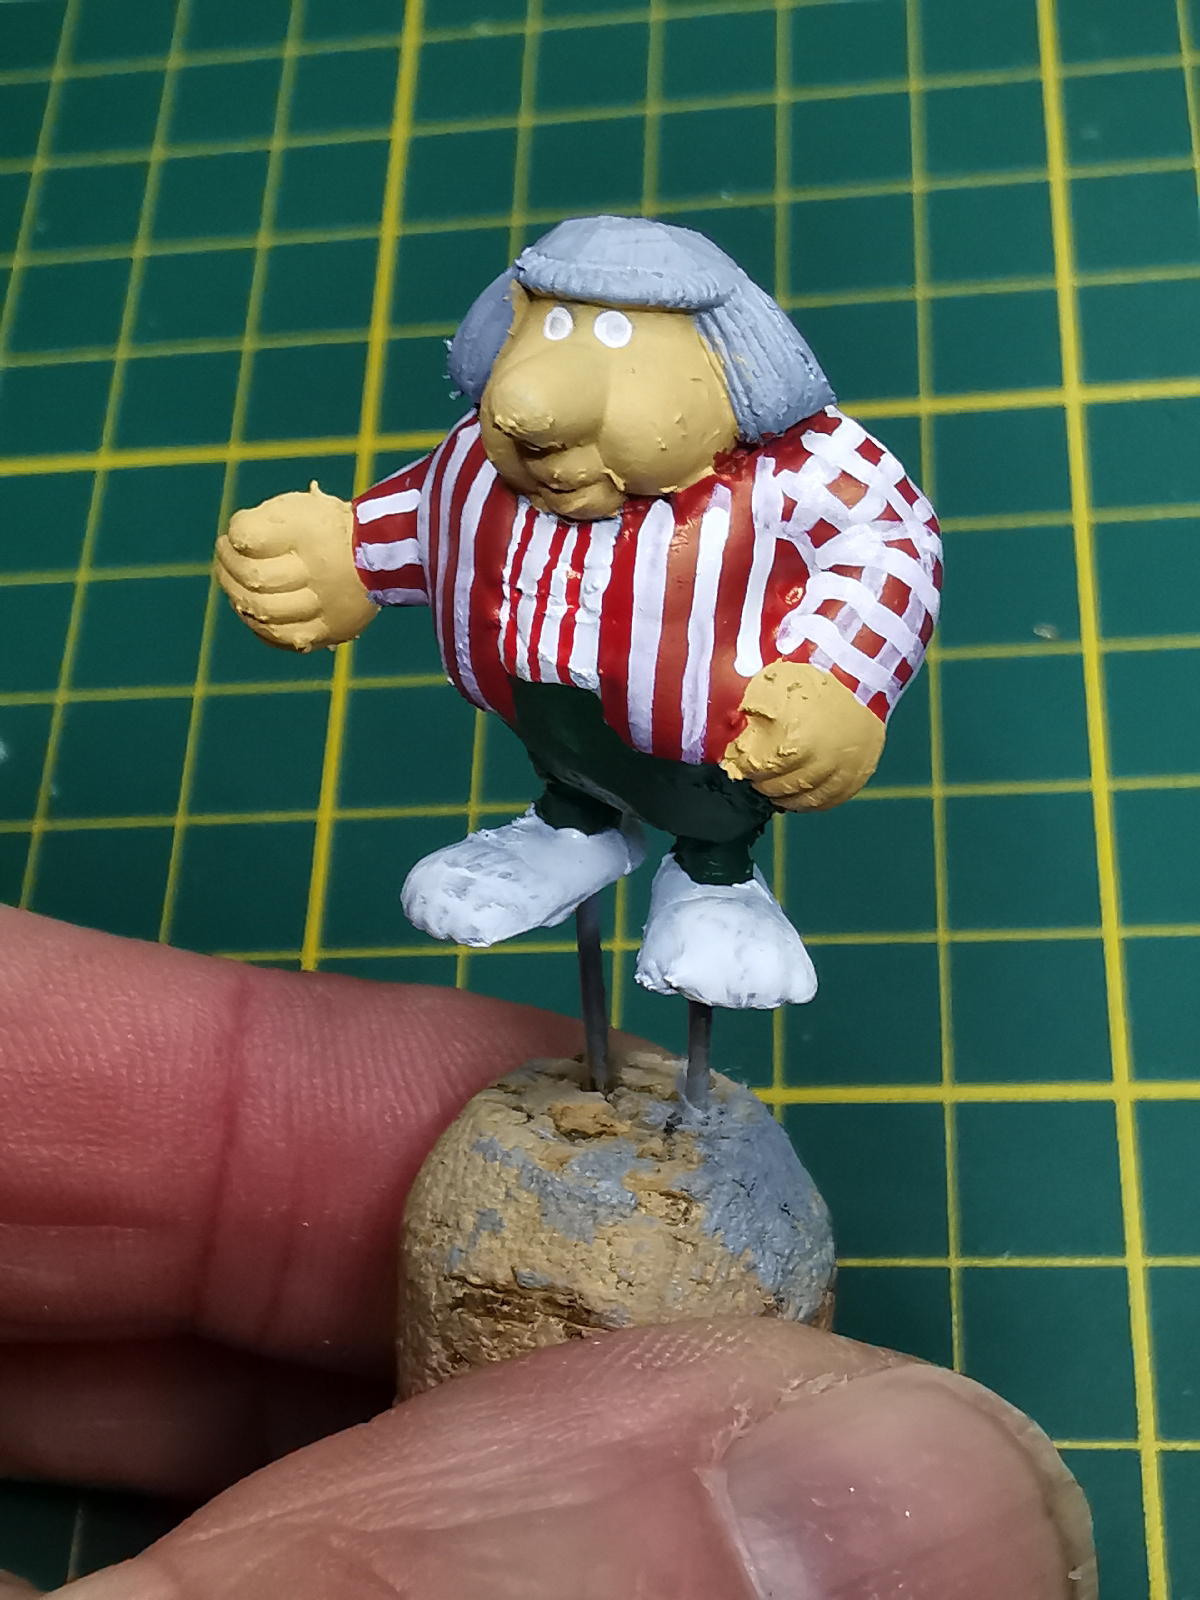
This month another scratch project of an Asterix figure,
and this clown Bassie known in the Netherlands was my inspiration.


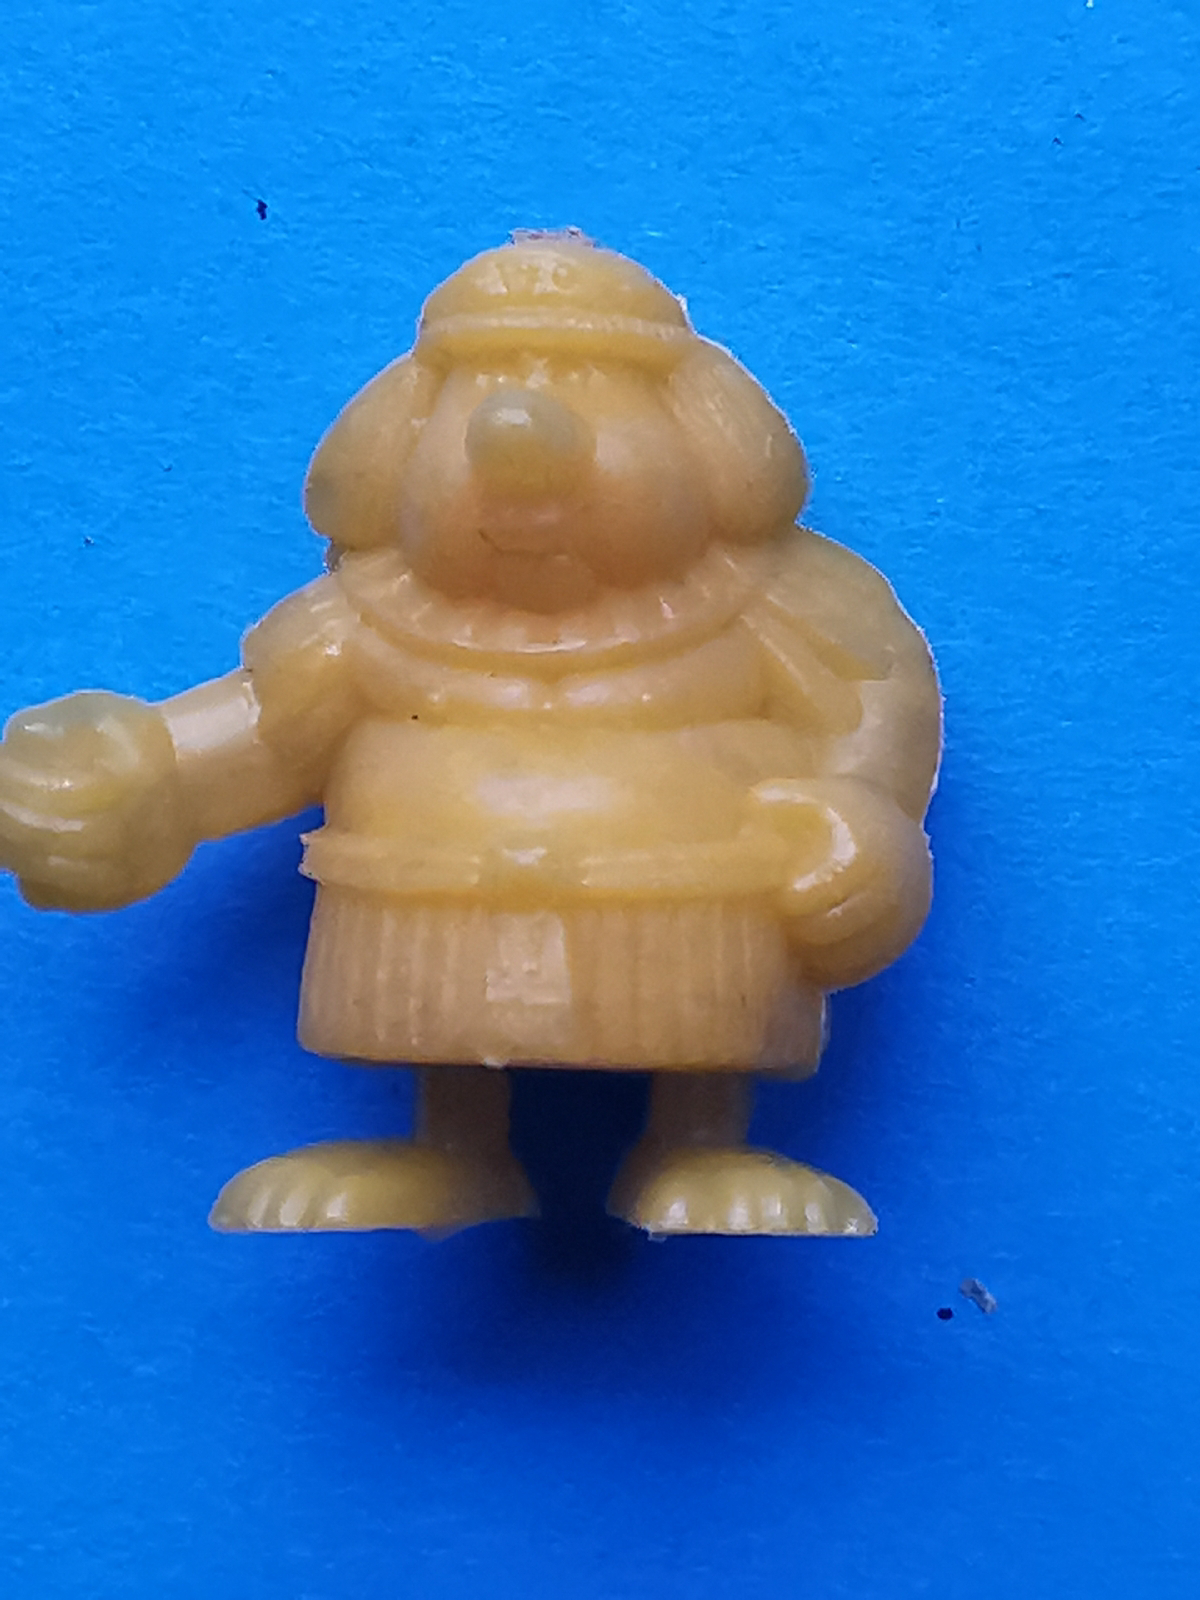
For this conversion, I chose an Egyptian figure
who already has a bit the body of "Bassie".


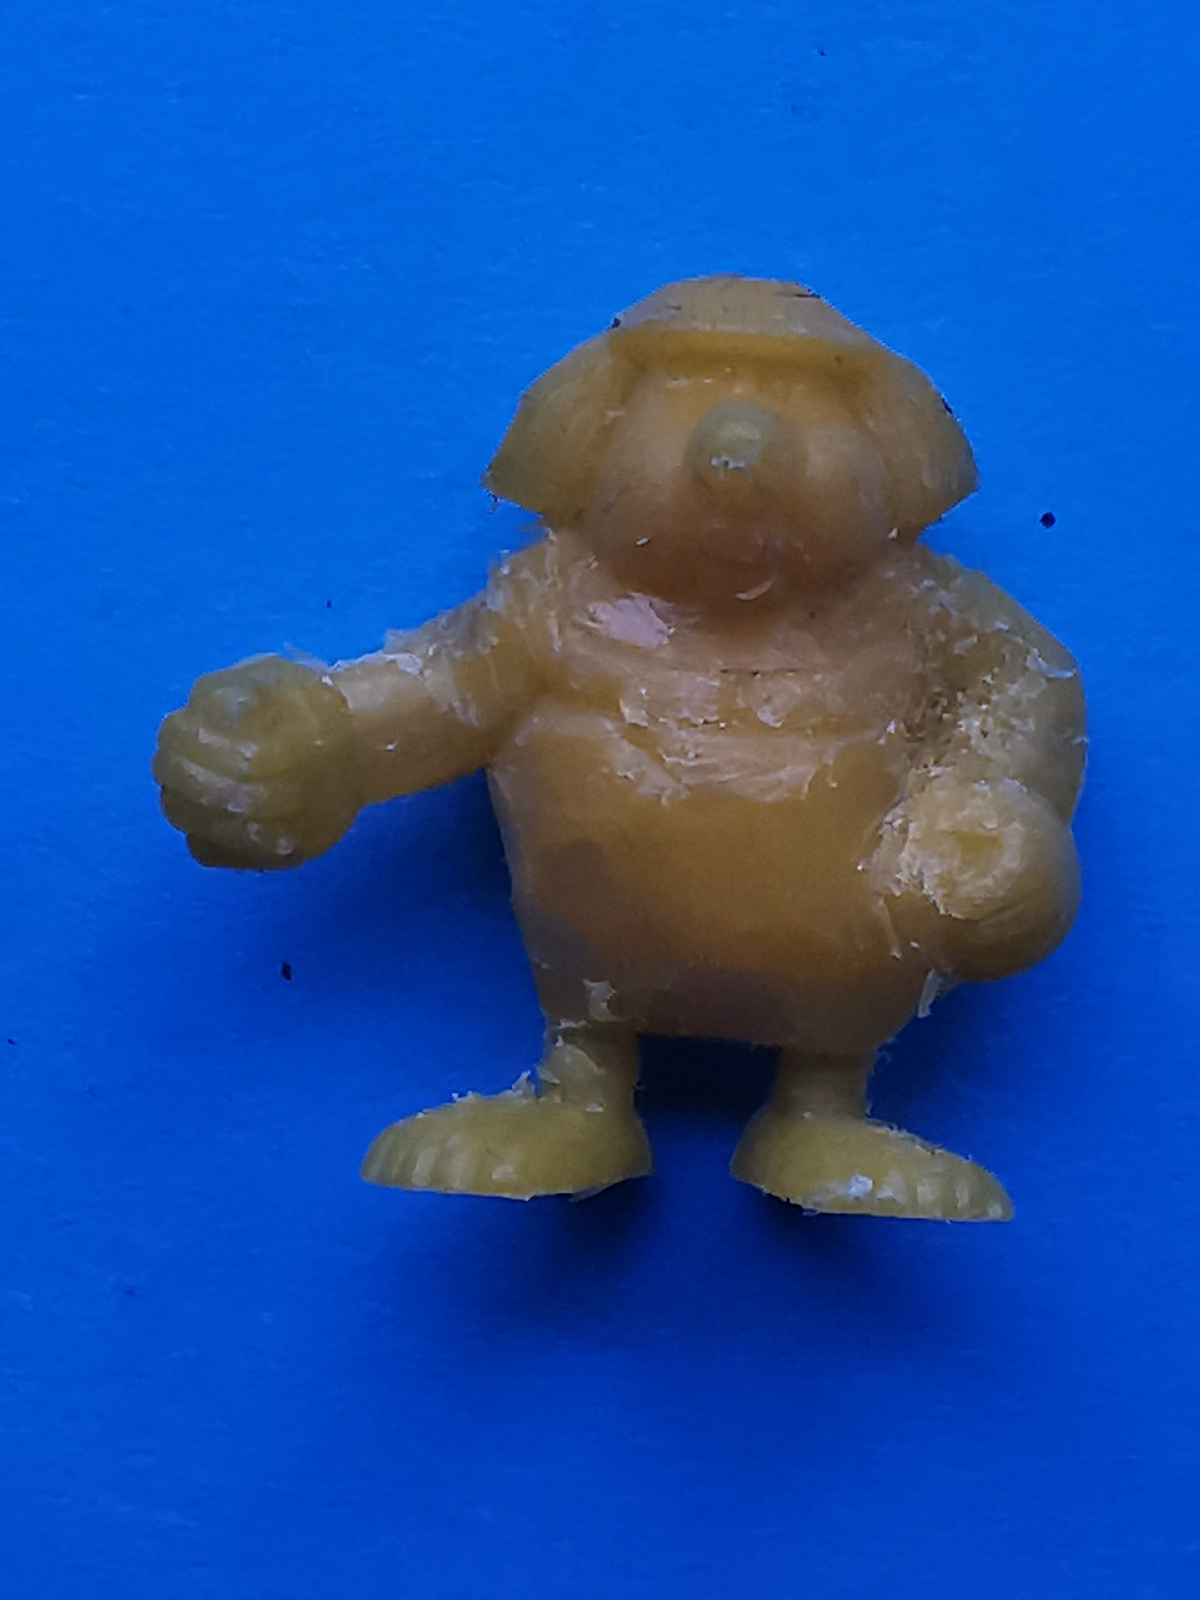
With a hobby knife, I first cut away the Egyptian clothing,
and tried to give him more of a trouser look .


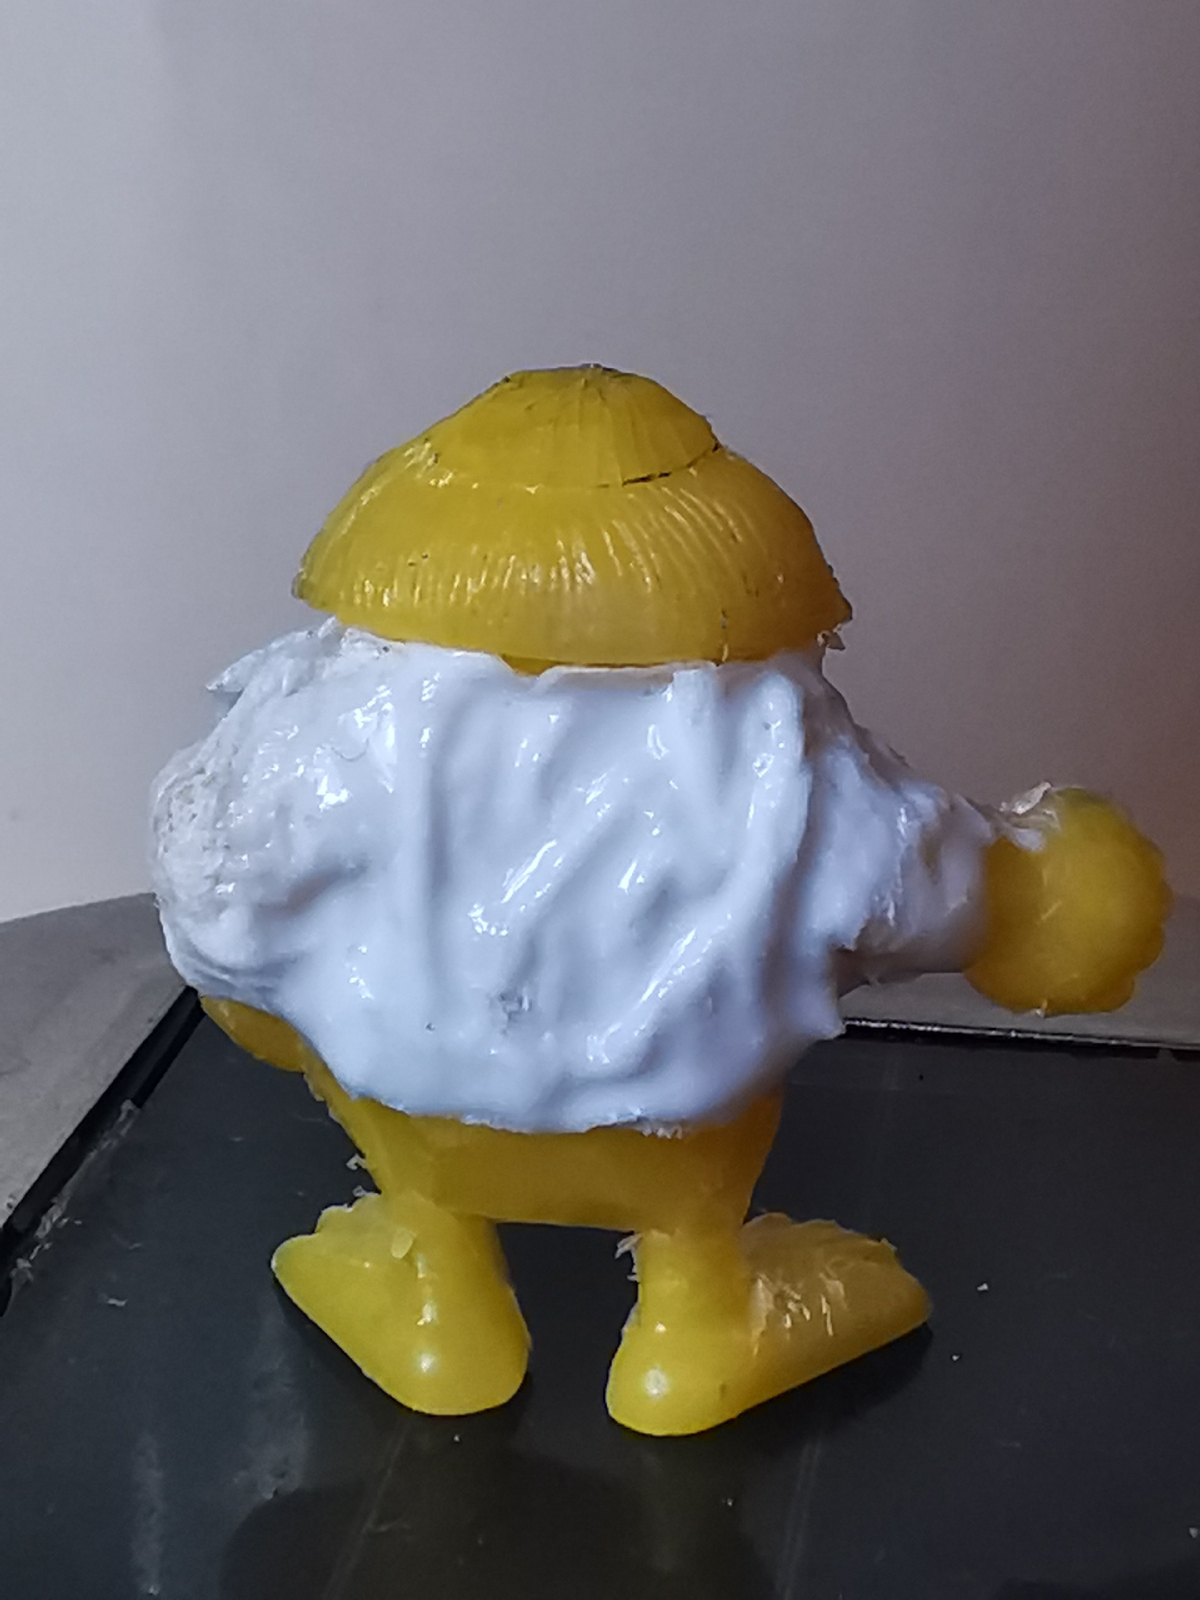
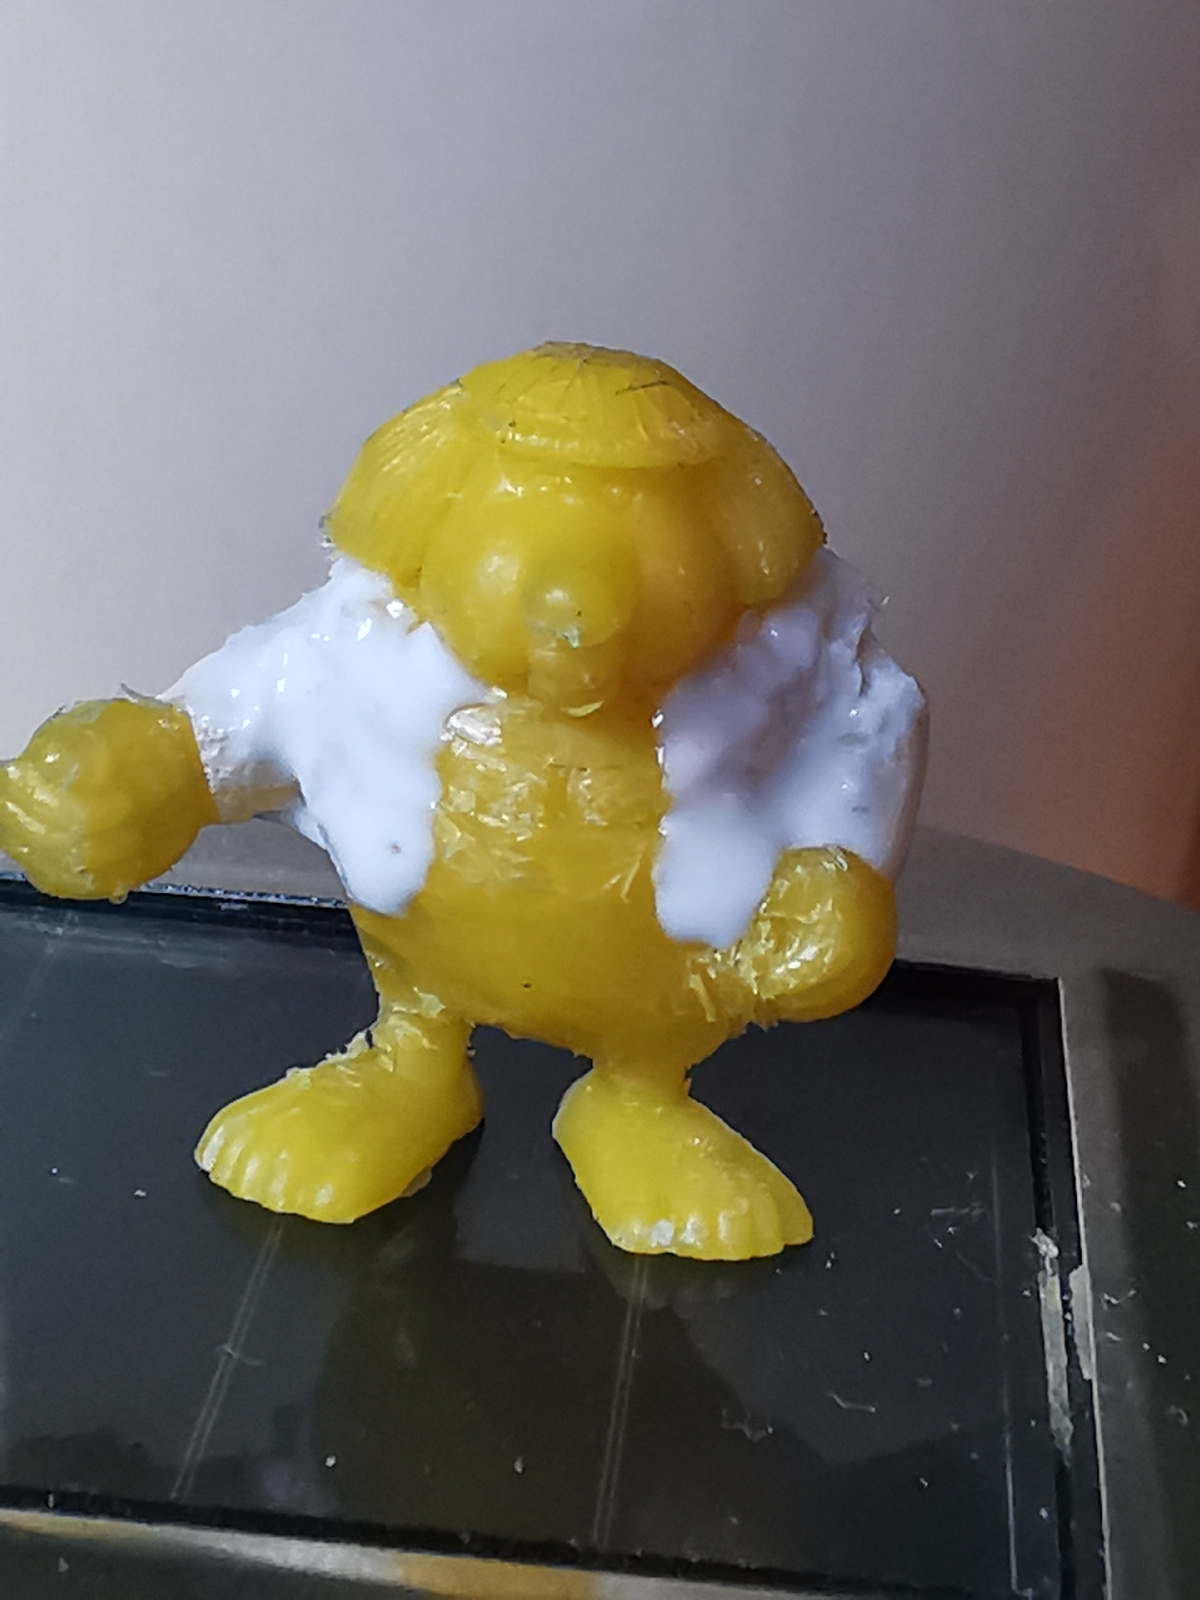
Then using paper tissues smeared with PVA glue 
I gave him his coat.


This is always a time-consuming job
because there are several layers of glue 
on top until I am satisfied.


Then the paintwork, and in particular his coat
had to start giving him the looks.
I started by making this red, 
then carefully applied vertical lines with white paint.


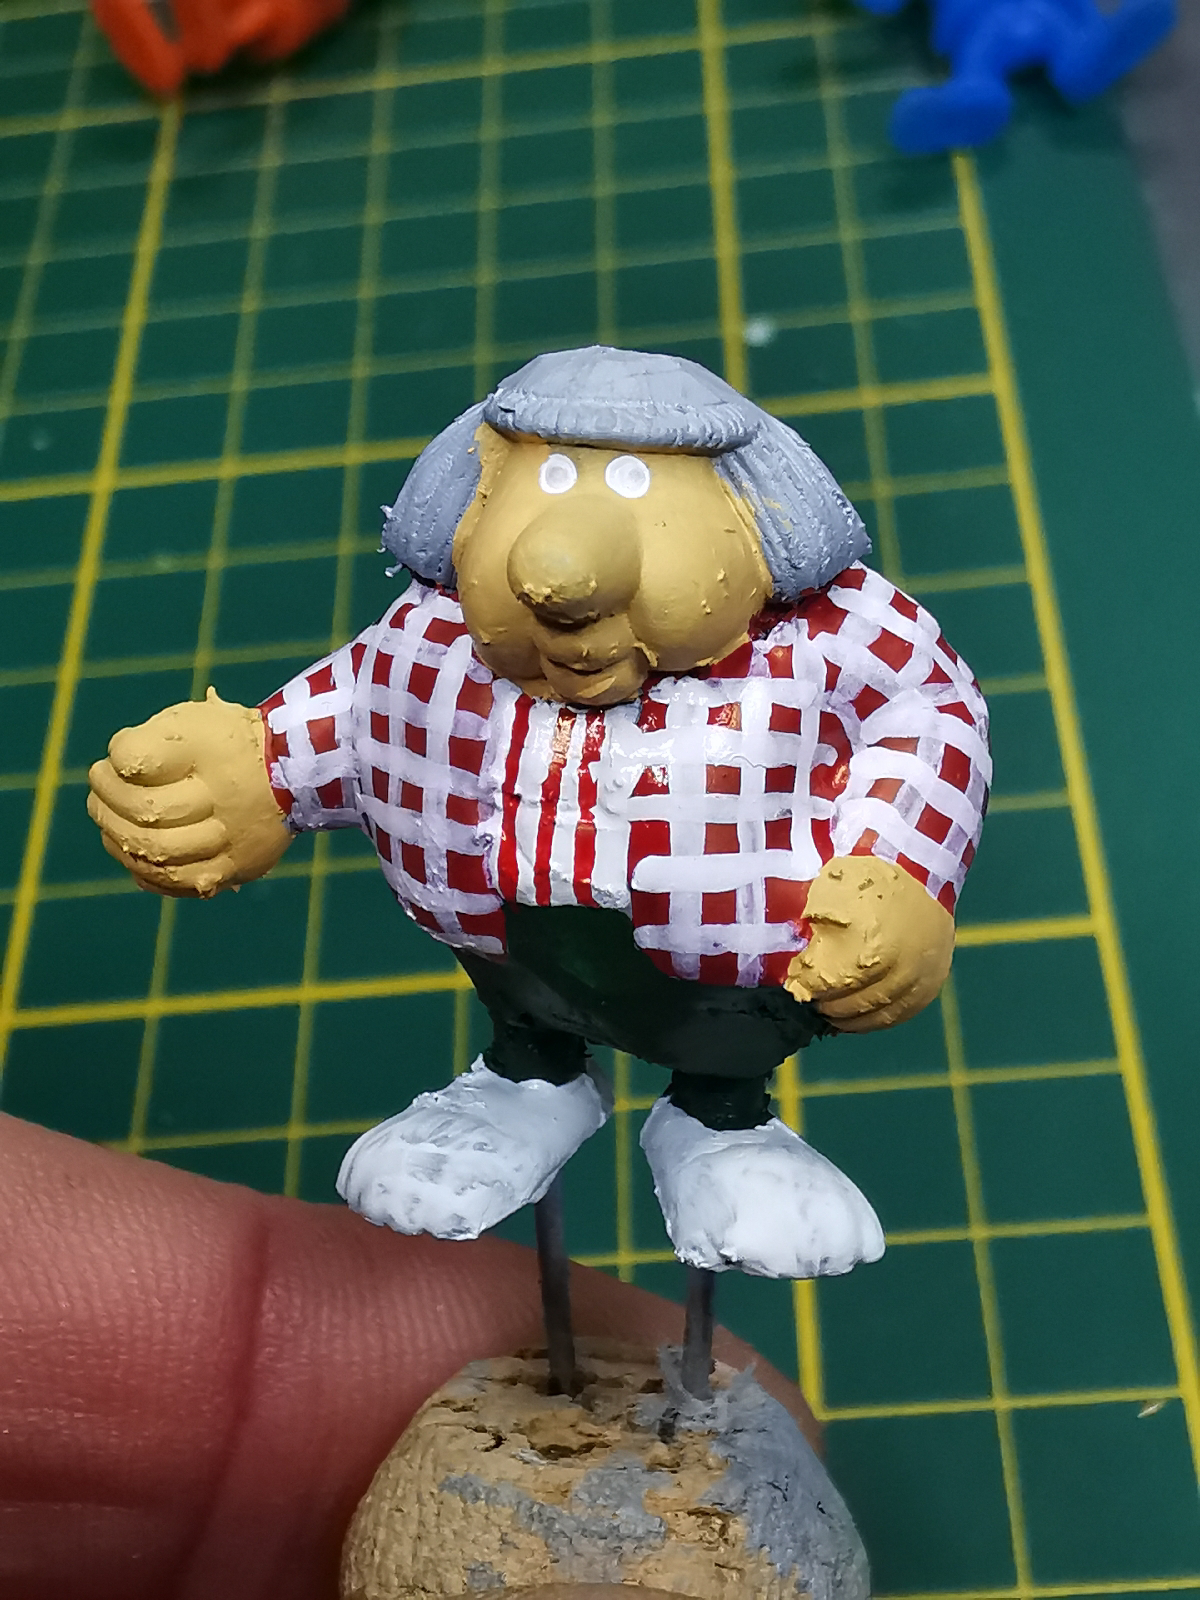
Then it was the horizontal lines turn 
and his coat got all red squares, so to speak.


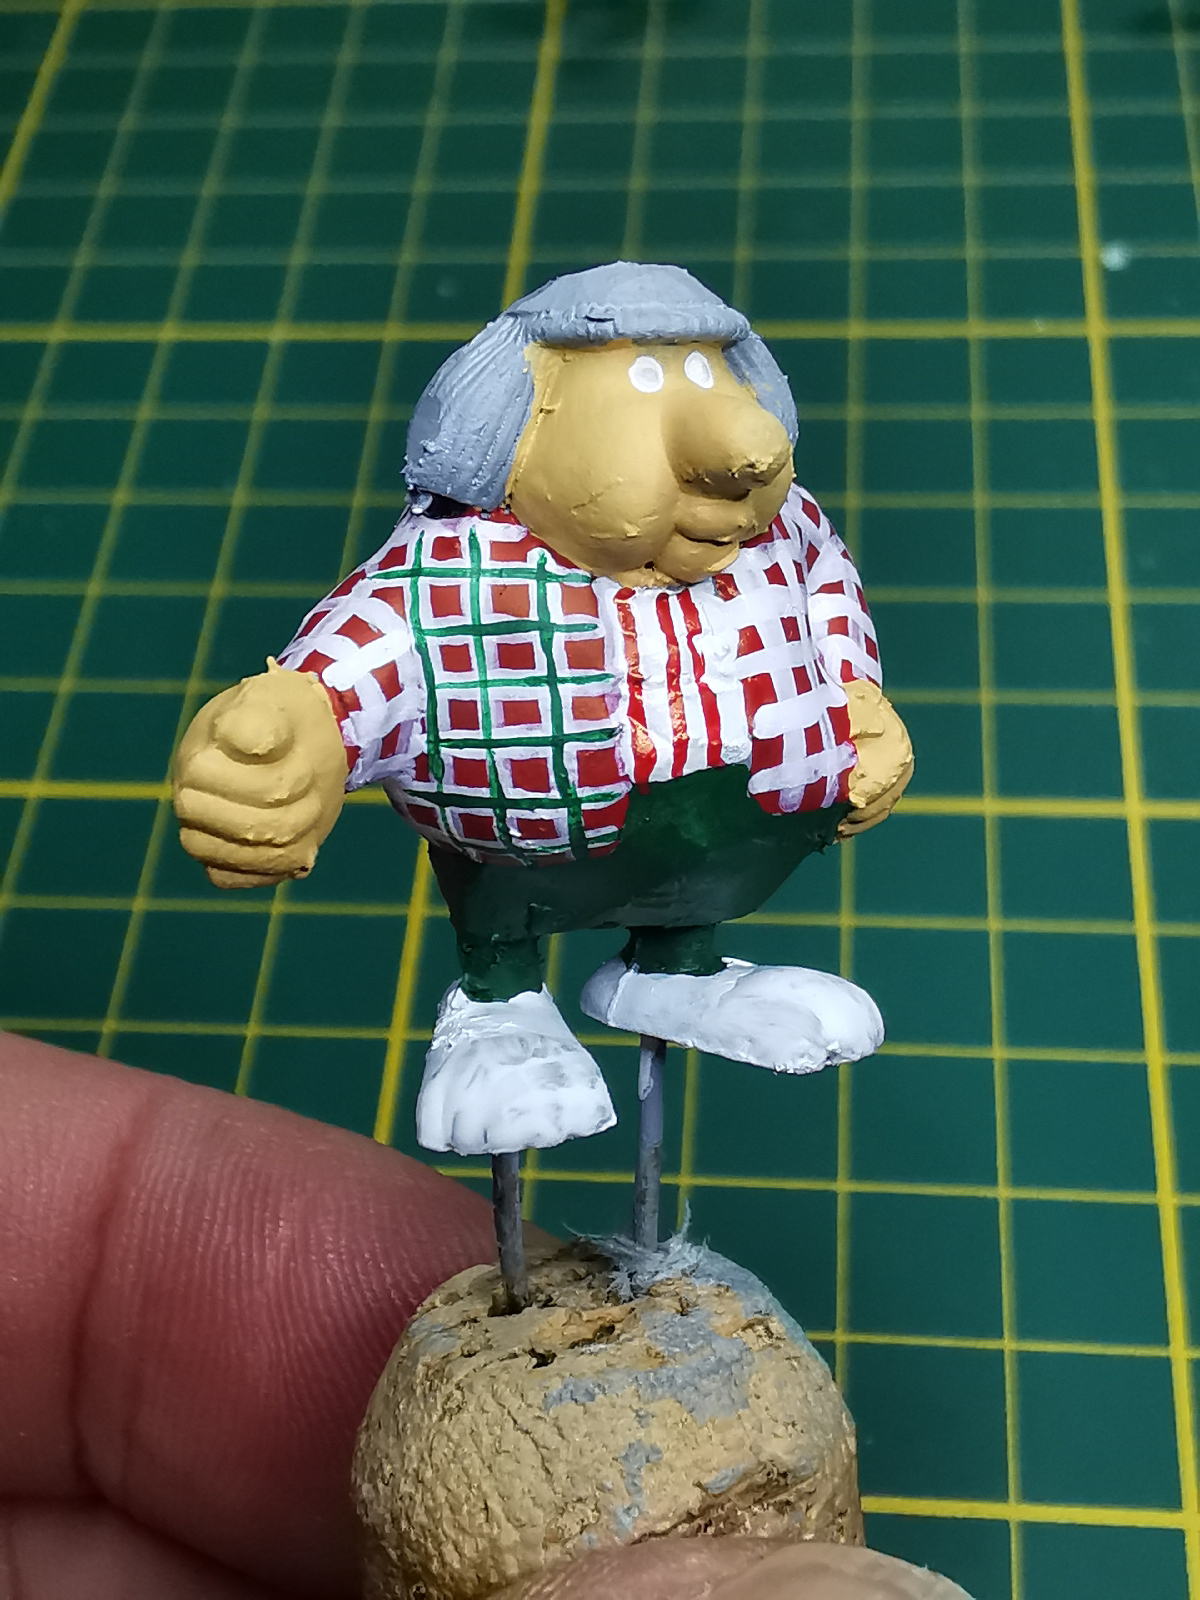
Finally, I tried using green paint 
to put another line in the middle of all the white paint.


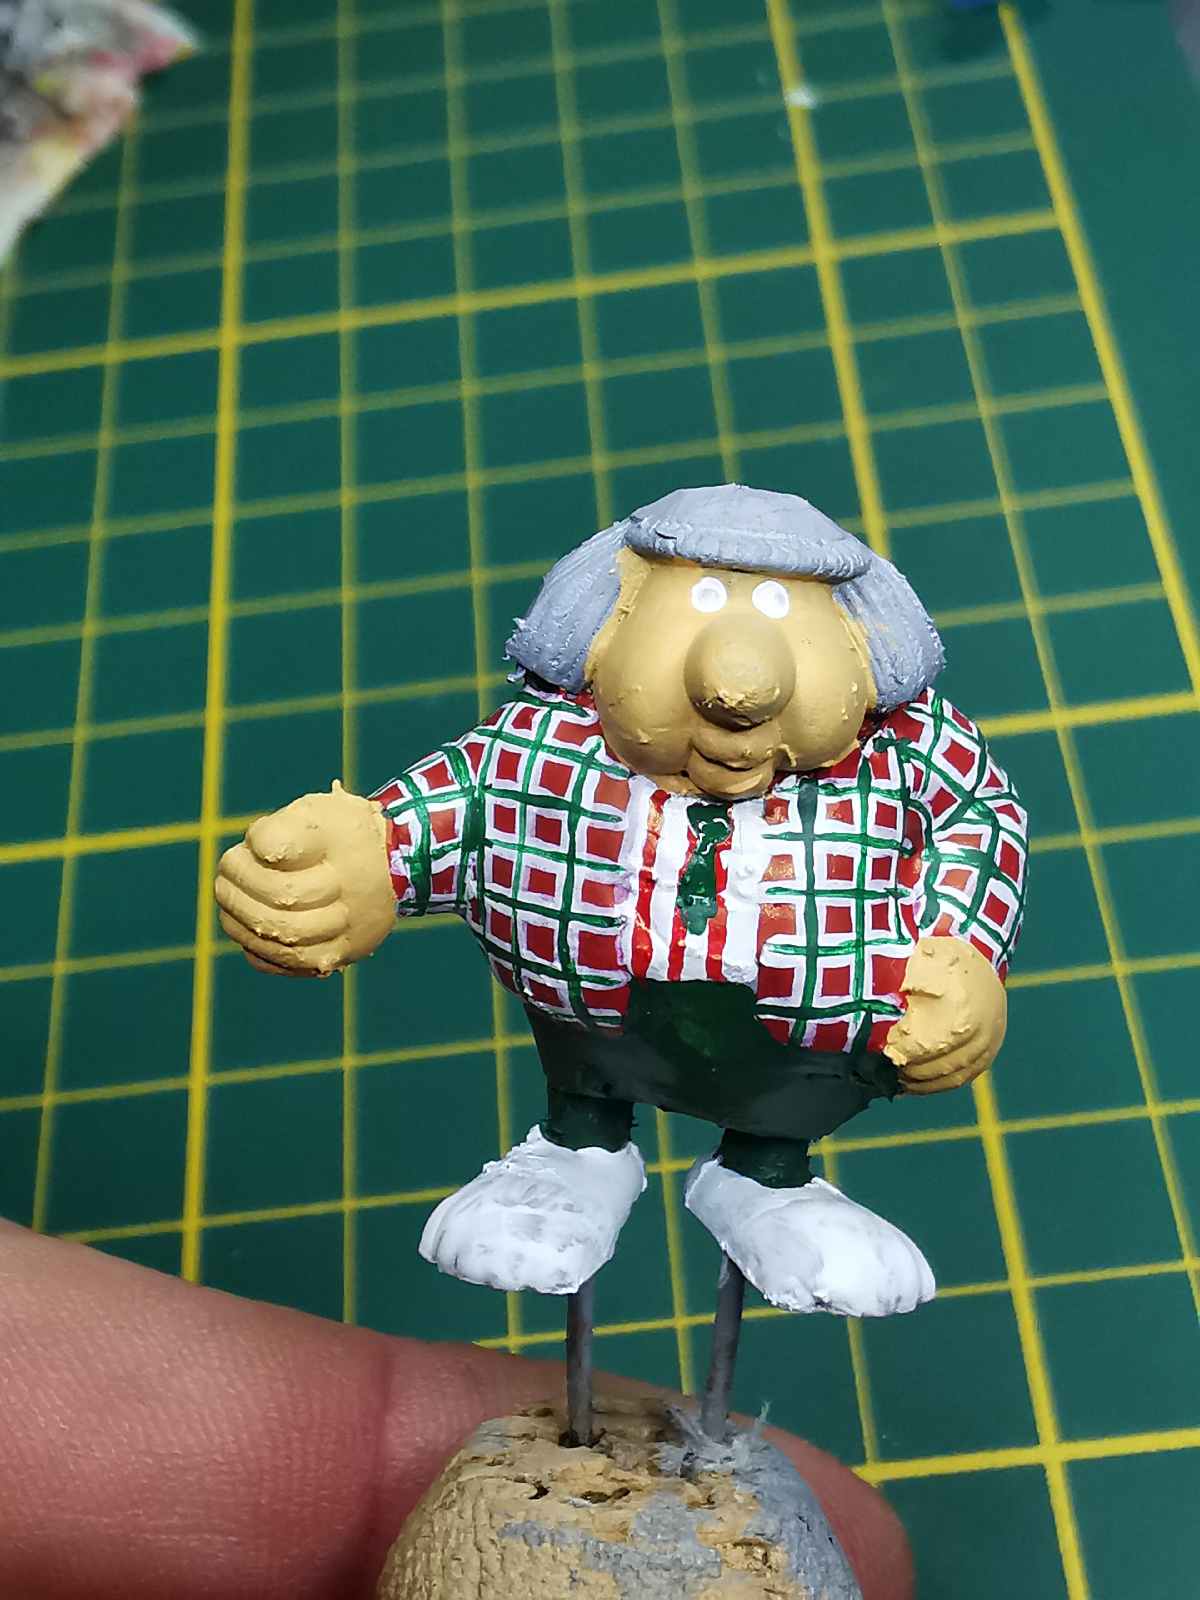
And even though the end result of this tricky paint job 
didn't really resemble the original, 
I'm quite happy with how it turned out. 
I gave him a green tie,
which he didn't have at all in real life,
so that was only temporary.


Then it was just a matter of putting on the familiar smink,
and giving him his final "Bassie" look.


Dutch visitors will undoubtedly recognise him!


And now I commit myself to making
his companion acrobat "Adriaan" as well....


So to be continued, hopefully you found it another fun conversion.


Saturday, September 30, 2023

Orangina


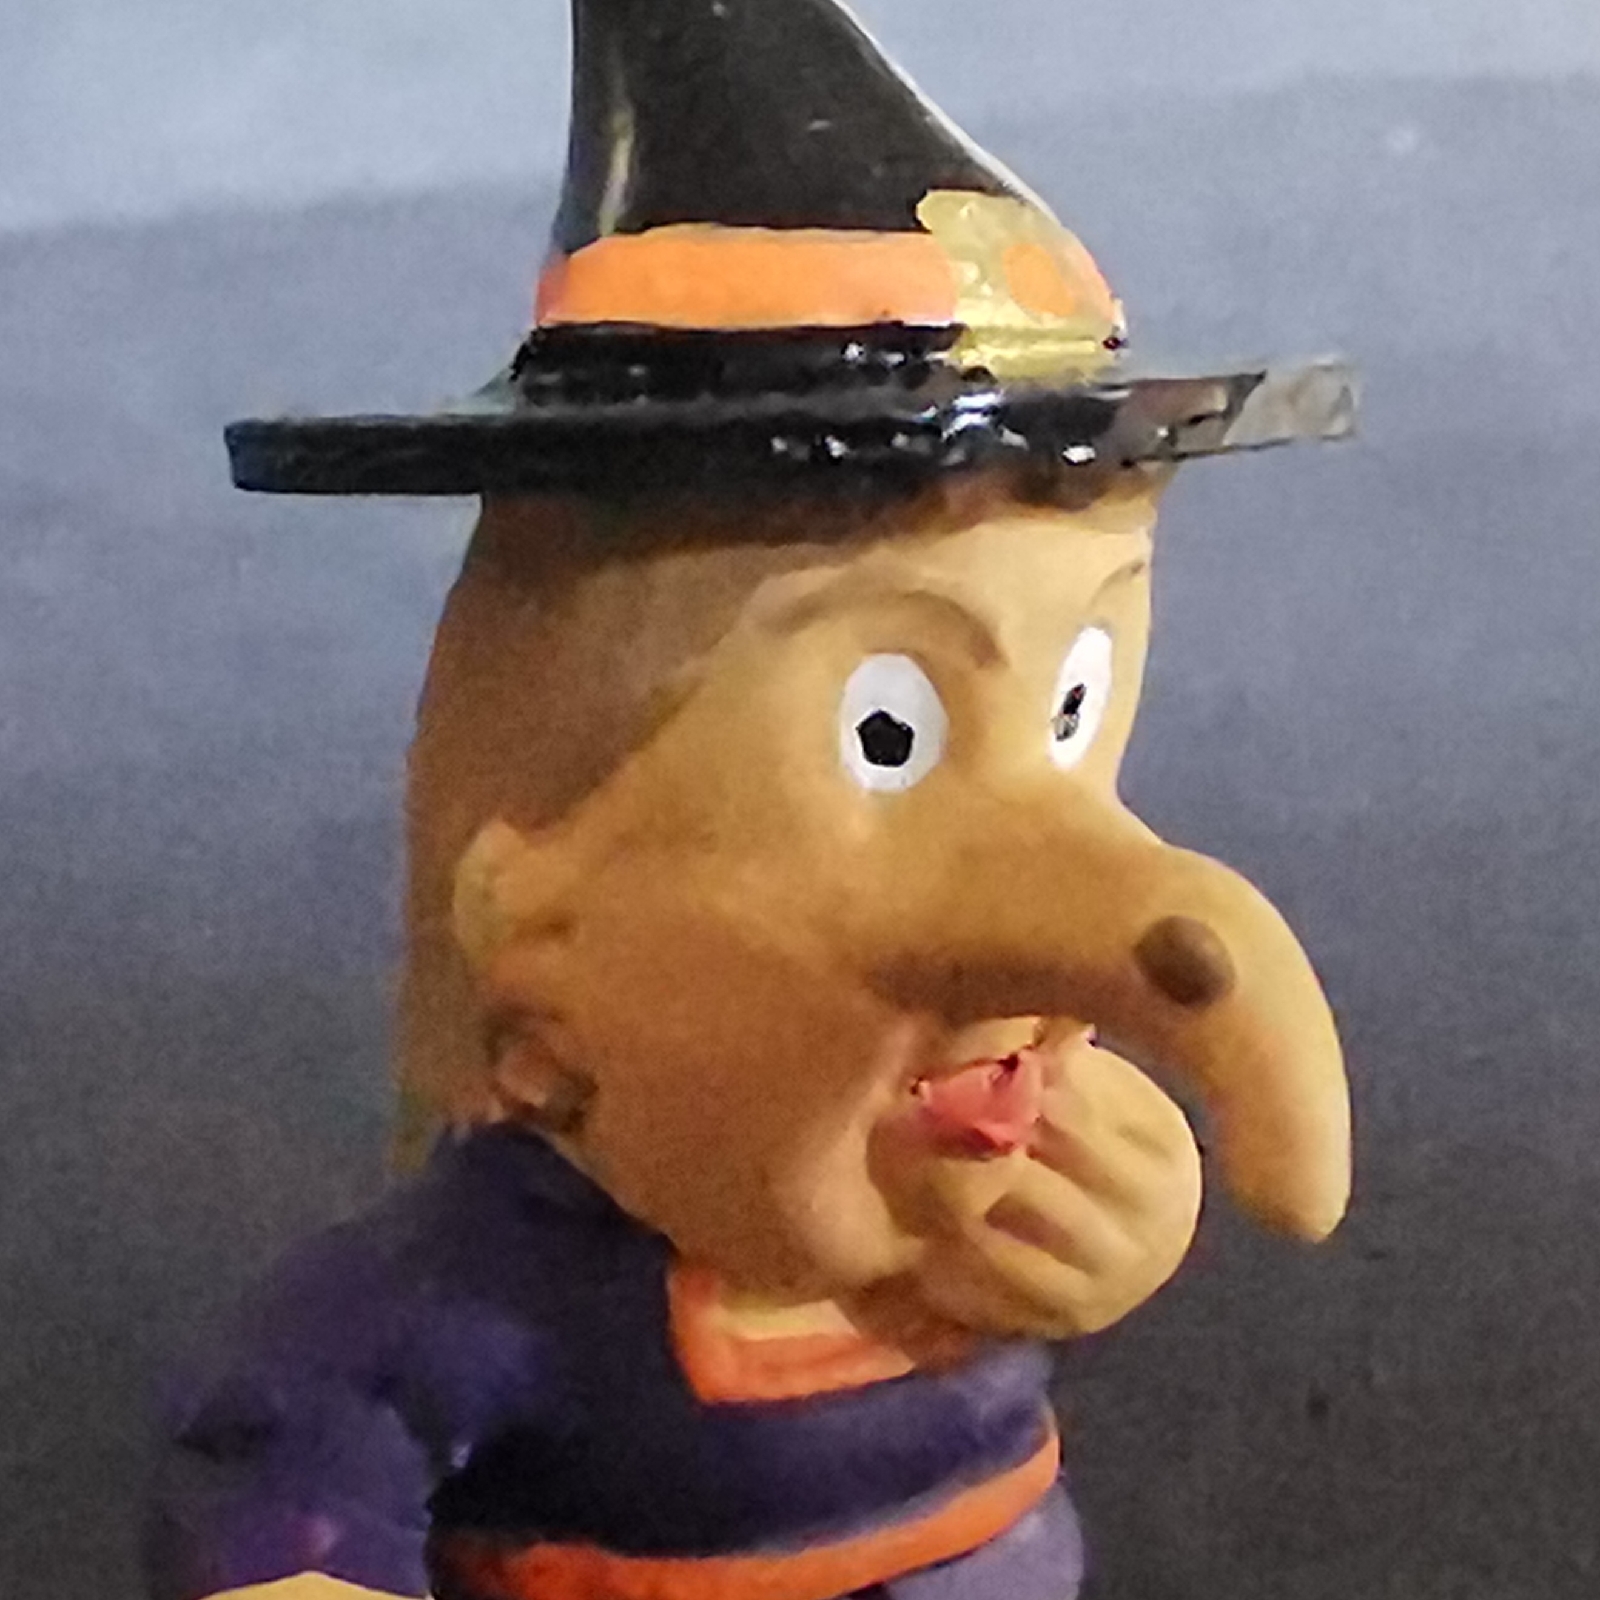
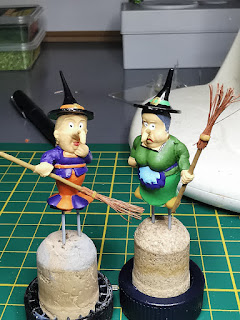
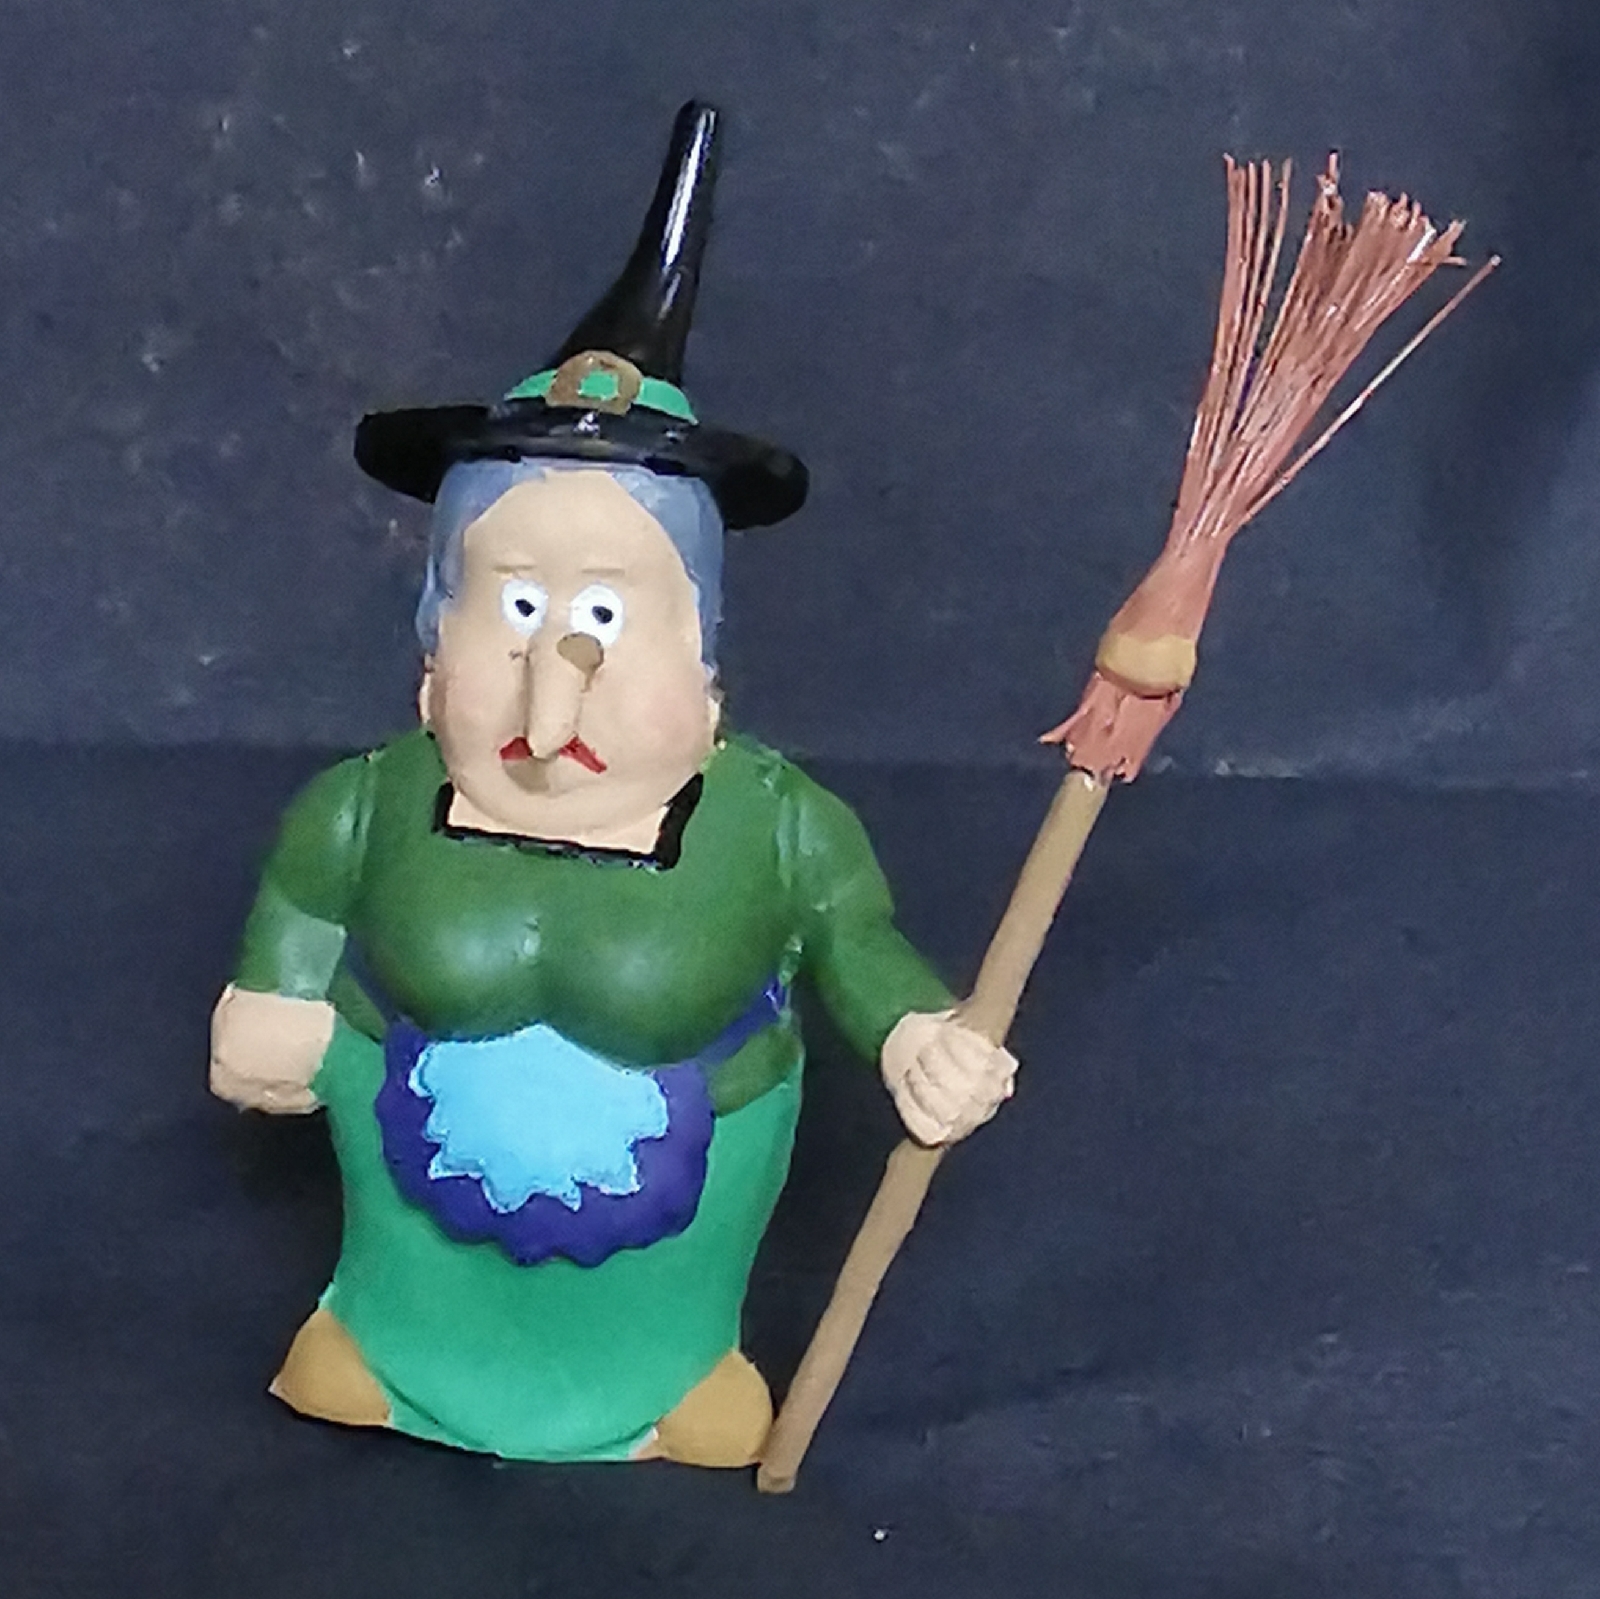
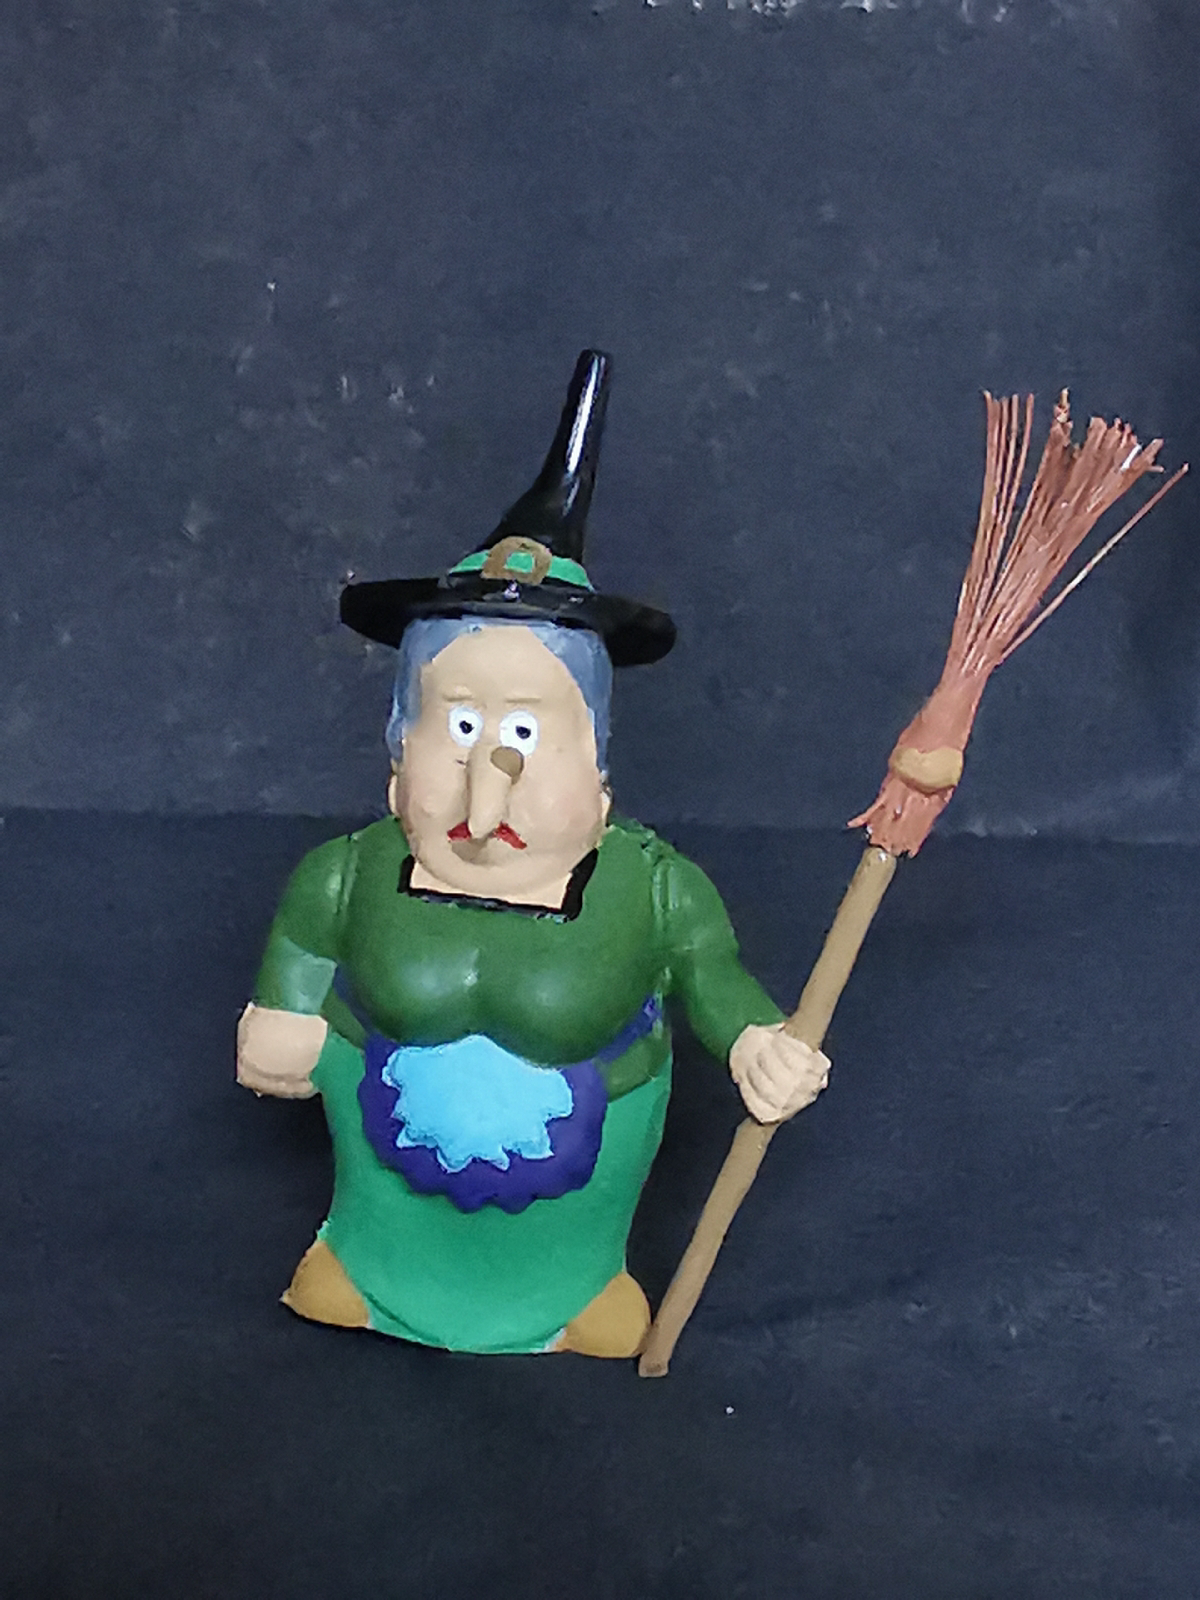
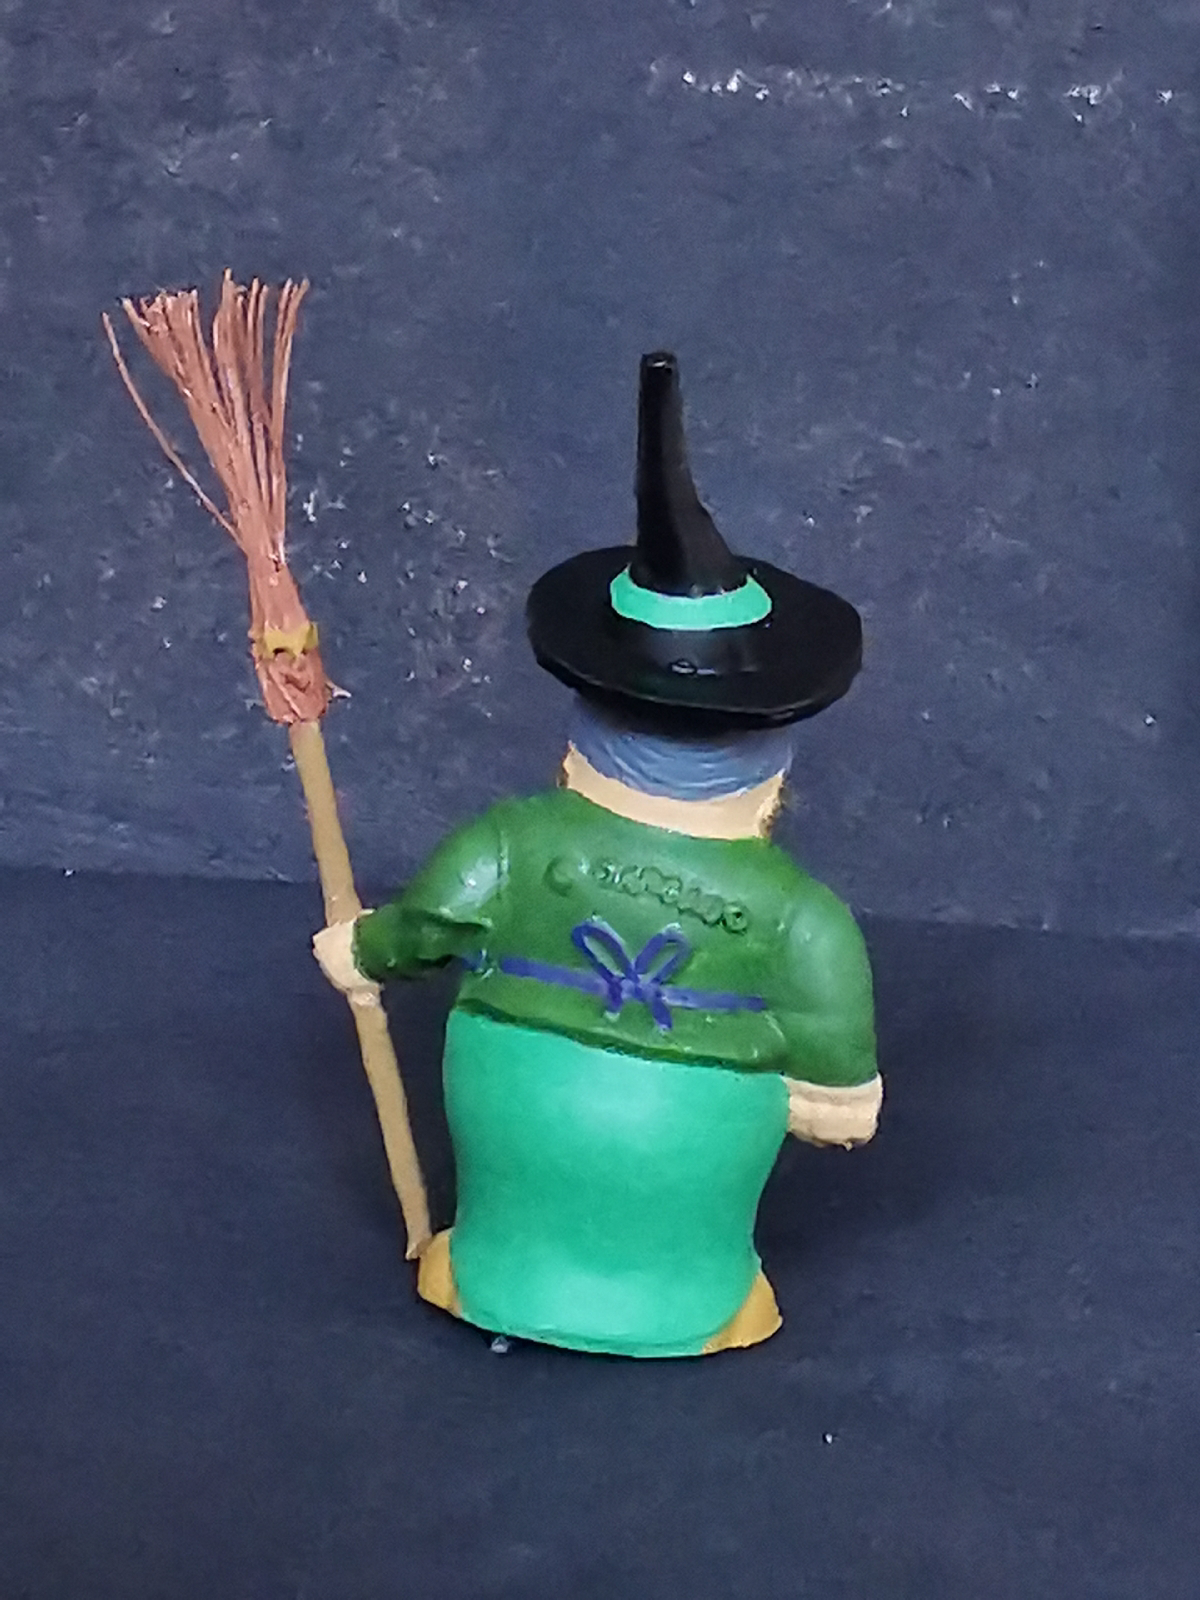
Meet witch Orangina, yet another delightful scratch project.

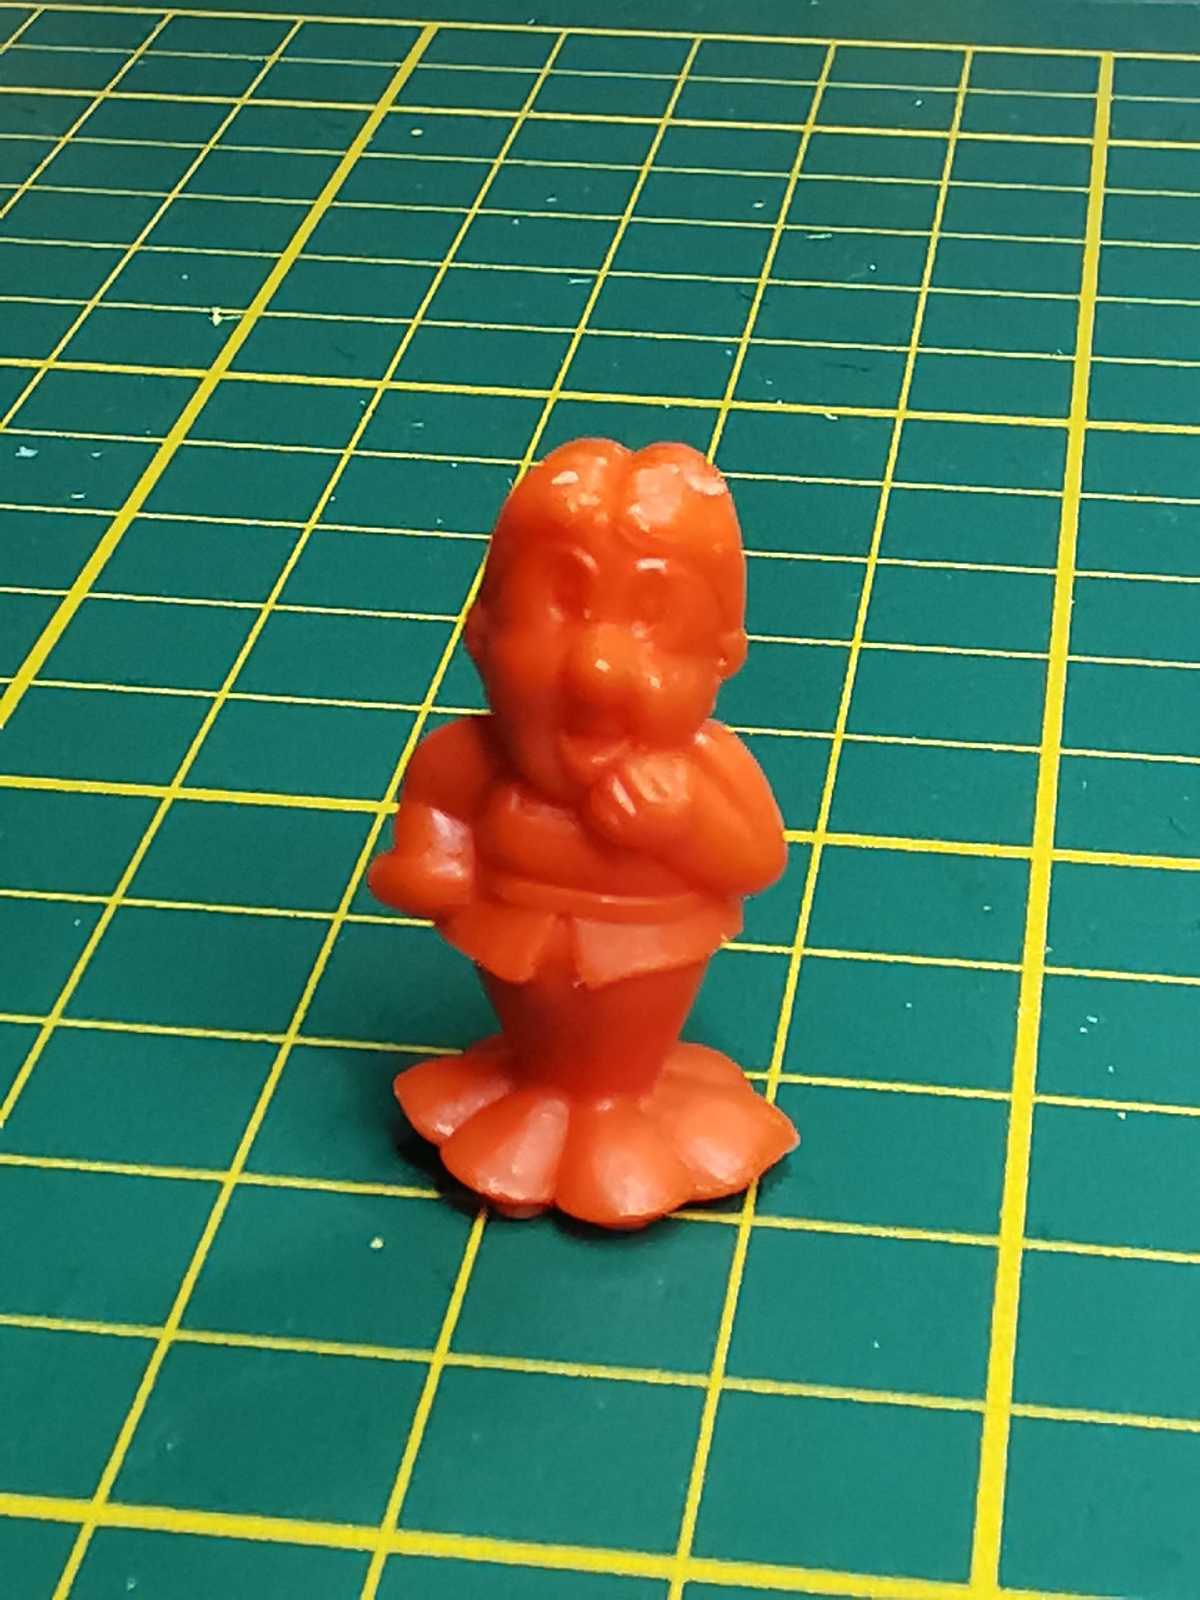
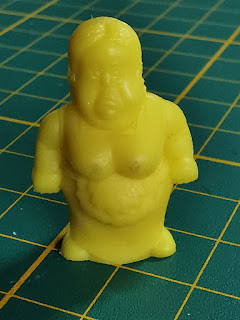
This time I used this lady from the Asterix chewing gum range.


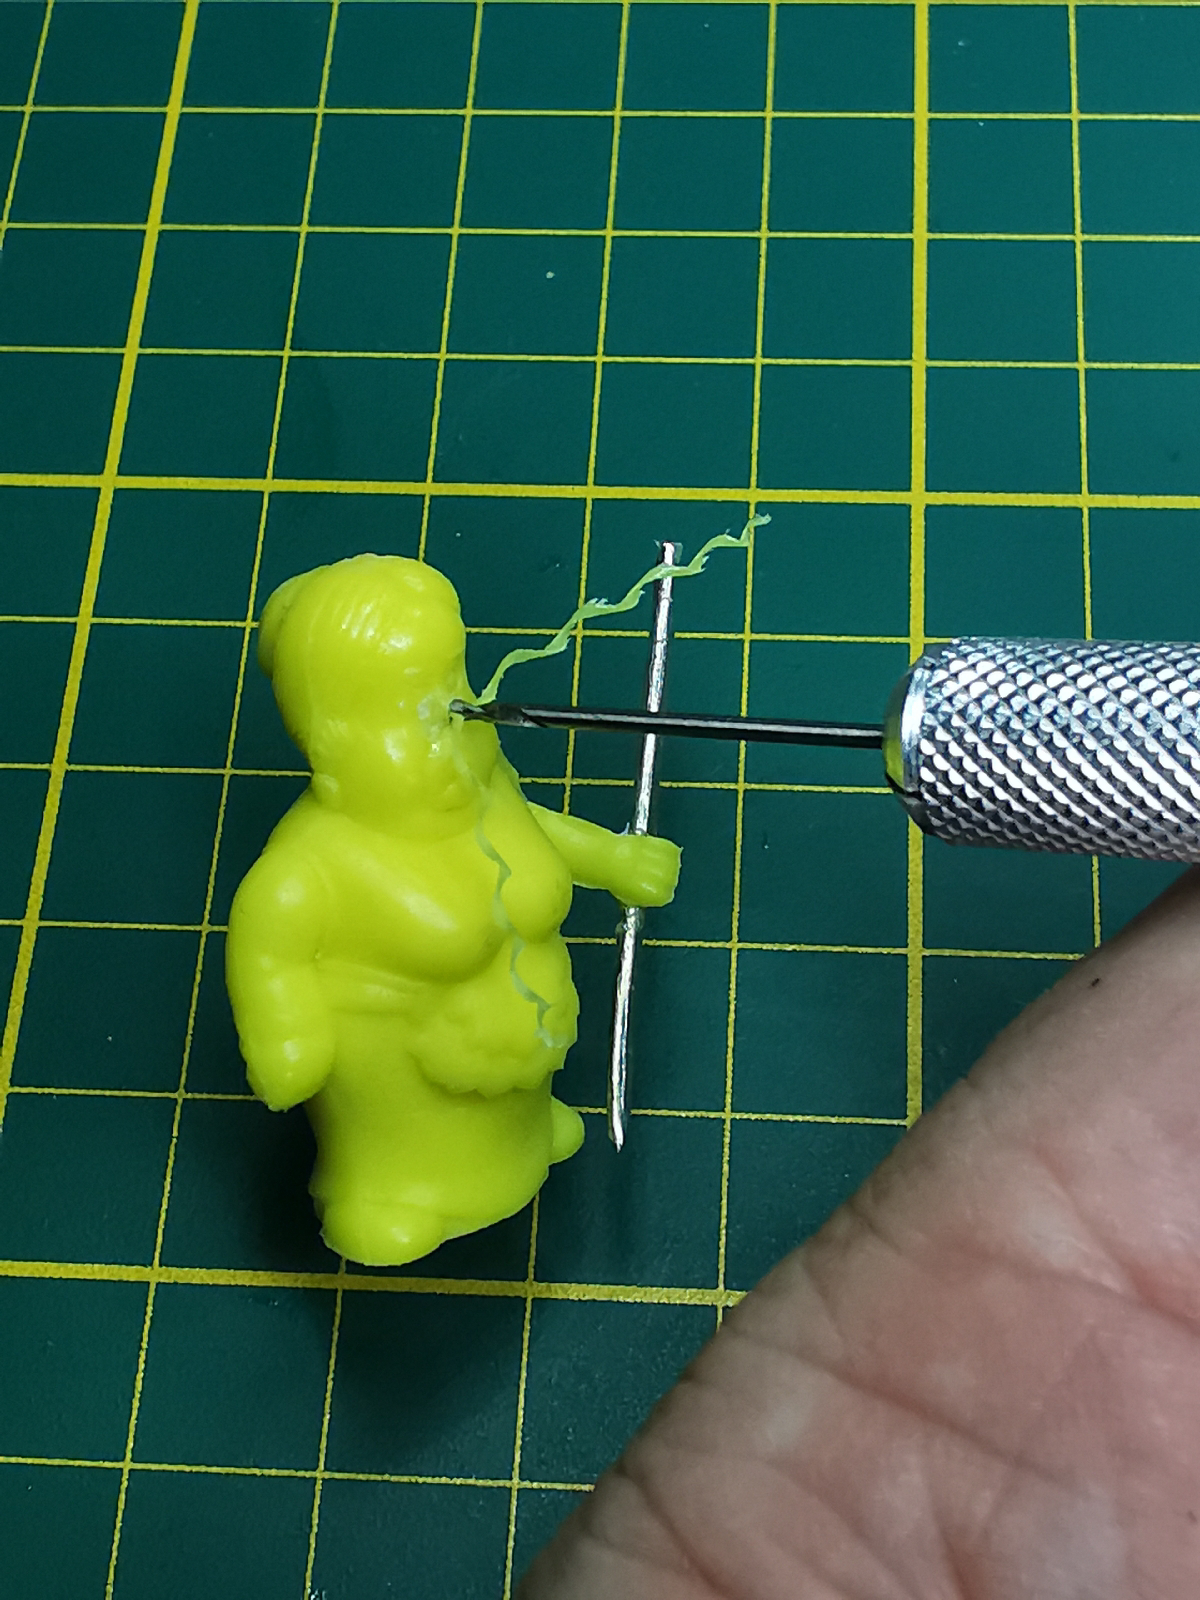
I started adjusting her arm so just cutting and drilling...


And after some fitting and measuring,
I bent pieces of paperclip into the right position


Then I started on her nose,
which of course has to be a witch's nose.


With pva glue all pieces of paperclip were skillfully hidden


Then glue a piece of electrical wire to the paperclip.
And only remove the protective layer from the wire after drying.


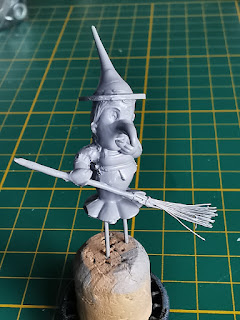
Once everything is firmly in place,
the broom will take some more shape...


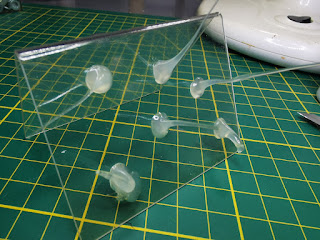
Now to pick a matching hat to go with the blobs of hotglue.


Again, I used a ring to mark off the round shape,
a quick cut and done....


After a slice was cut from her head,
her hat glued on and then primed her.


After painting, she immediately started chatting
with her colleague about spells...


But first the photo shoot.
She too has a beautiful wart on her nose!


Simple colours completed it


Hope you are as entosiastic as I am.
This was another enjoyable little project to make.


Wednesday, August 30, 2023

Olive


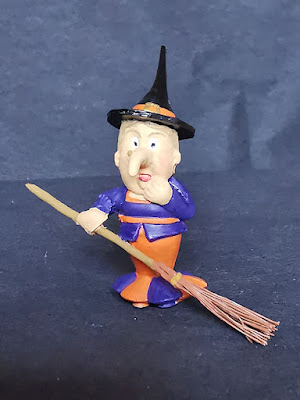
Another fun scratch project this month, a witch!


Made of this lady from the famous Asterix series


Since I have plenty of these ladies in stock in my hunt for Roman soldiers, 
I decided to rebuild her, starting by cutting the arm loose,
and using a drill to make a hole the parts.


With a piece of paper clip, I brought the arm into the position I had in my mind.


With some PVA glue I applied some layers so it became one again,
I also drilled a hole in the hand where I also glued in a piece of paper clip.


Then I cut away her nose, and again the drill came along


Bend a piece of paper clip crooked, and again give it its shape with glue.
Of course, I also made a wart on her nose with glue.


Next a piece of electrical wire was glued to paperclip.
As you can see, I exposed a small piece of wire first,
and only removed the rest of insulation after the glue was dry.
With PVA glue, I added another small edge.
It immediately began to look like a broom.

Finally I started with the hat,
on transparent plastic I melted a tuff with a hotglue gun,
then with a ring I could clearly mark the round. And I cut.


Just to be sure, put another hole in here as well
and reinforced with a piece of paperclip....


Then glue the hat to the flat cut head, and primer her


And painted this is the final result.....


Simple, but tremendously fun to make.
And I'm sure I'll be making more witches in this style....

Thanks for visiting, hope you enjoyed it!